How to Make a Weather Monitoring System with ESP32 Board Circuit Diagram The URL requires the input of three parameters to acquire the weather update for a desired location. These parameters include the name of the city (specified as "q=your_city"), the country code of the city (specified as "your_country_code"), and your unique API key (obtained from the "API keys" tab). This ESP32 ESP-IDF code This project serves as an excellent introduction to working with APIs, Wi-Fi connectivity, and data display on an LCD module using the ESP32 board. With the IoT Open Weather Display, you can conveniently access real-time weather updates at a glance, making it an ideal solution for home or office environments. Required Components

Learn how to build an advanced ESP32 Weather Station using IoT technology. This step-by-step tutorial covers real-time weather monitoring, data logging, and
Temperature, Humidity and Weather Forecast with an ESP32 Circuit Diagram
To receive data on Blynk from ESP32, you will have to create datastreams. First go to 'Datastreams' ; Under 'New Datastream' select 'Virtual Pin' ; The first datastream is named as 'Temperature' ; Select 'V0' under Pin ; Data Type will be 'Double' because we are receiving accurate values with decimal places ; Unit will be Celcius (°C) 'Minimum Value' can be kept as 0 and 'Maximum Value' as 100

📥 Clone or Download Clone this repository to your local machine. 🛠️ Open the Code Open the .ino file in the Arduino IDE.. 🔧 Initial Setup Upload the code to your ESP32. Upon the first run, the device will host a Wi-Fi setup portal named ESP32-Config.Connect to this network using a smartphone or computer, and follow the web interface to input: ESP32 supports various protocols, but MQTT (Message Queuing Telemetry Transport) is particularly effective due to its lightweight nature well-suited for low-bandwidth networks. Implementing MQTT will allow you to publish real-time updates on your weather conditions effortlessly.
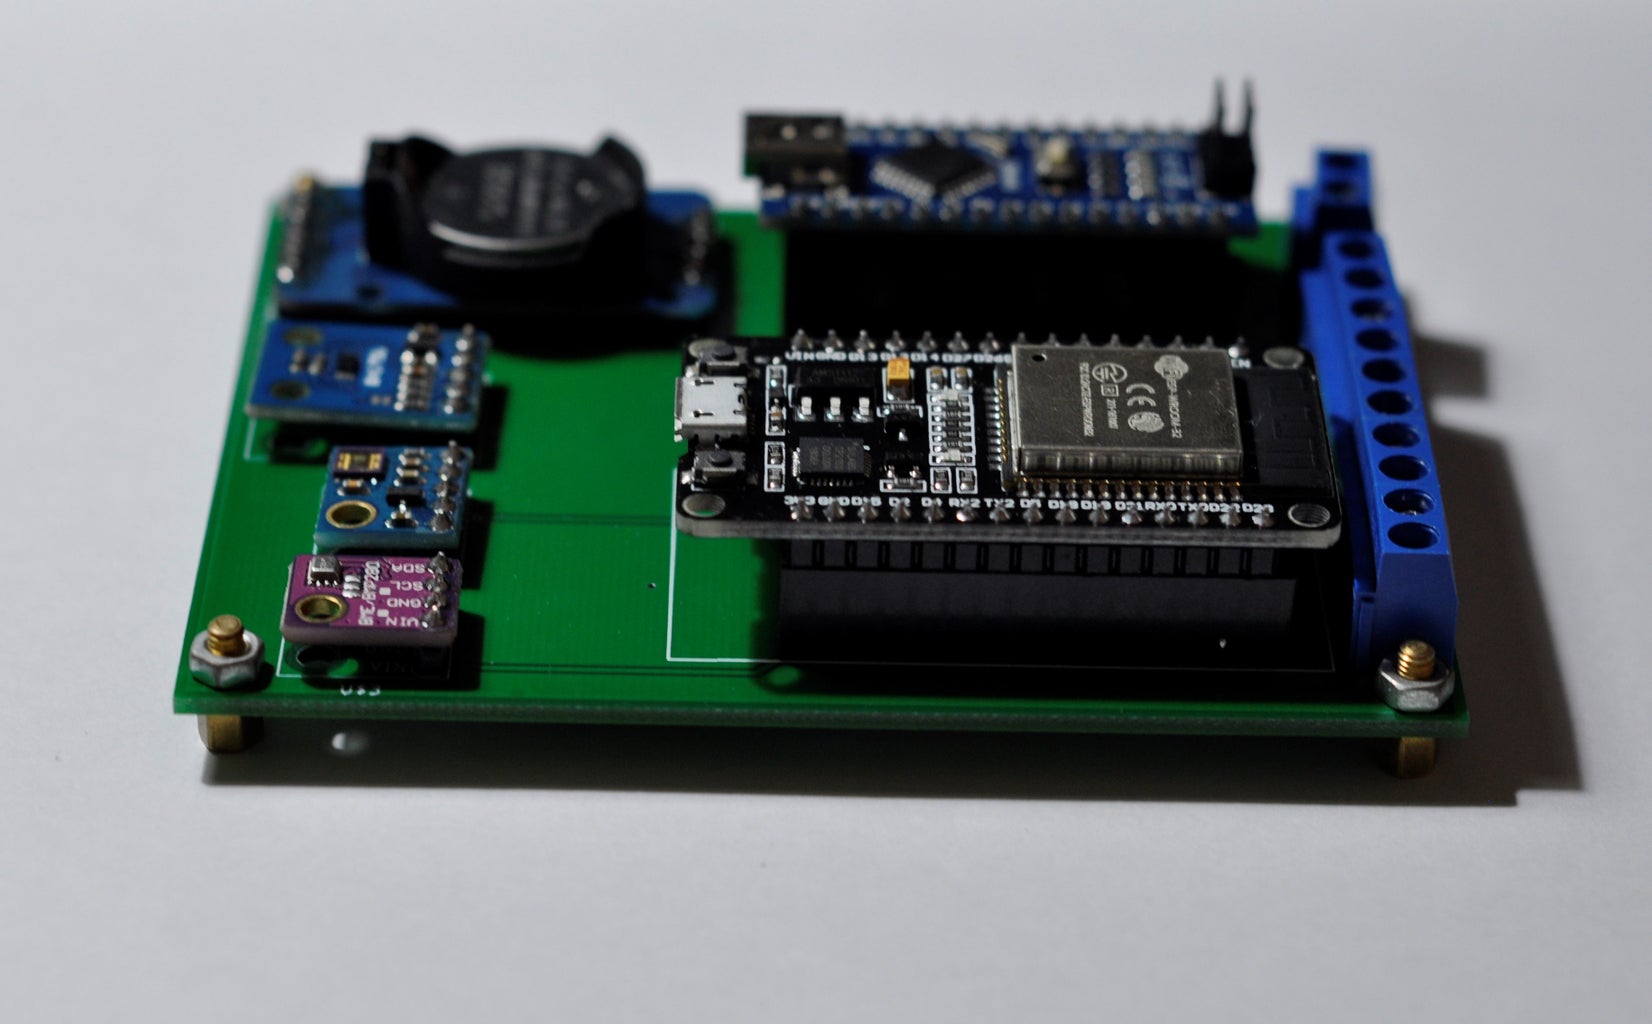
DIY Cloud Weather Station with ESP32 or ESP8266 Circuit Diagram
For our simple internet weather station, I am going to extract four pieces of information. The short description of the weather under weather -> main ("Clouds"), the current temperature under main -> temp (10.29), the current relative humidity under main -> humidity (82), and the name of the location under name ("Melbourne").
